Bleed Setup
A common question we get asked is what is bleed and how to setup a file properly to include the necessary bleed allowance we require to print your book. Here is a breakdown of what exactly bleed is and how to set it up properly using your graphic design software.
What is Bleed?
Bleed is a term that is used in the printing industry to tell a printer if ink has to run off the edge of the page after the page is cut. Basically, if ink goes off the edge of a sheet, that edge “has bleed”. It’s very common to have “full bleeds” which means every edge of the sheet has ink running off the edge.
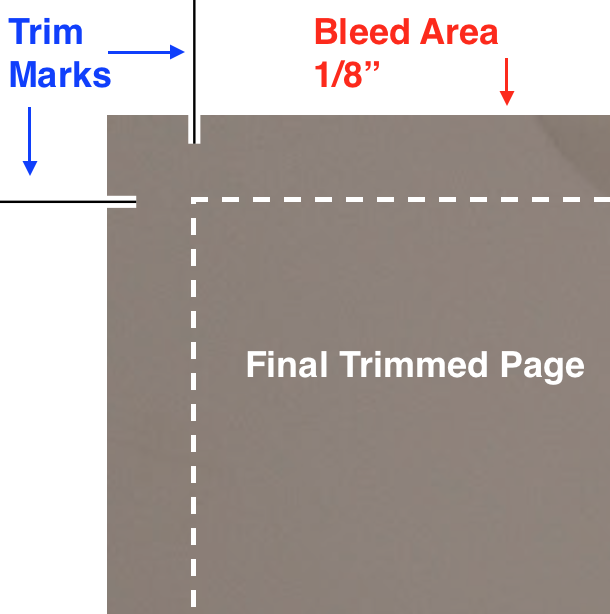
Below are some great examples of what bleed is from a great website for all things printing related
How Much Bleed Does Copywell Require
We require 1/8″ or 0.125″ or 3mm of bleed where applicable.

Step by Step: Creating a File With Bleed
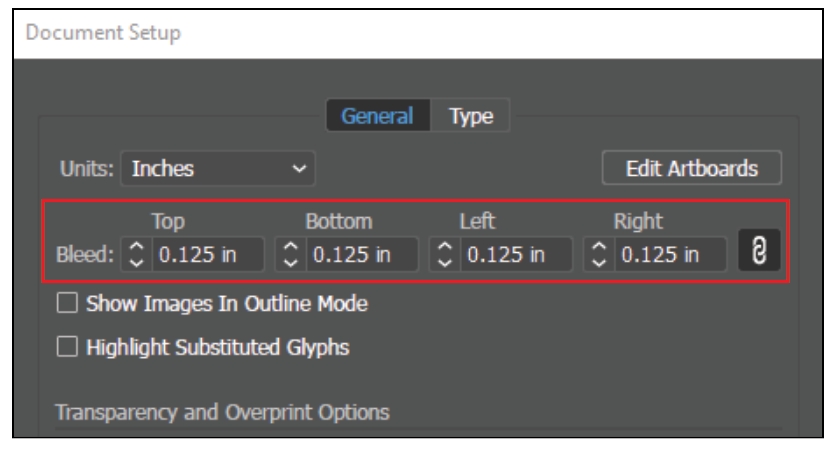
First you need to determine your trim size, or the final size of the book when it’s cut and ready for readers. When you’re setting up your artboard, you need to set the document to have 1/8″ bleed on the top, bottom, left and right (all sides).

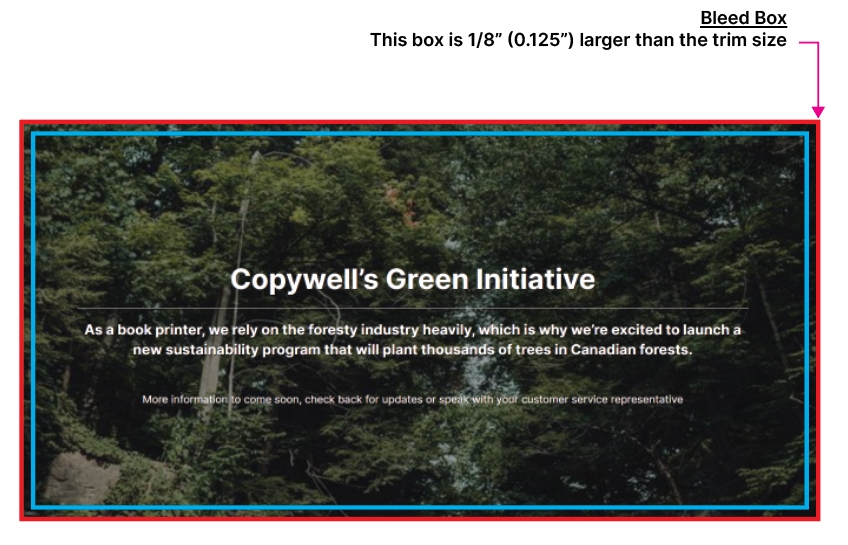
Extend all artwork that will bleed to the bleed area set above, shown in the image below as the red box.

Once the artwork is extended to the bleed box, it is ready to print. Save as a PDF with trim marks and bleed.

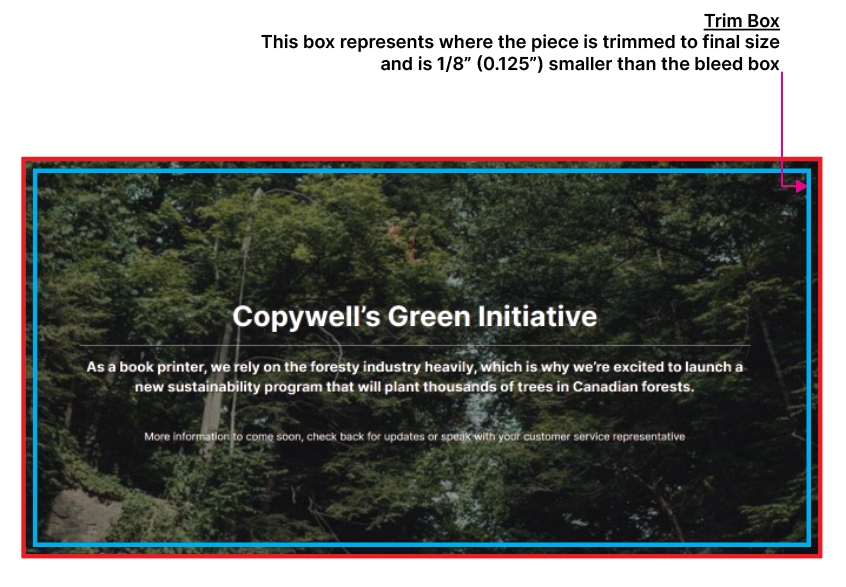
When it’s saved as PDF with trim marks and bleeds, the piece should look like the image below. Notice the trim marks cut into the bleed area, as the bleed area will be discarded after trimming.

The bleed area will be cut off and discarded.


The final piece is trimmed to final size has bleed on all sides.
